What is the future for Filmmaker Central?
2024-01-20
In this video I talk about what my plans are moving forward for 2024 for Filmmaker CentralContinue ReadingContinue Reading

In this video I talk about what my plans are moving forward for 2024 for Filmmaker CentralContinue ReadingContinue Reading
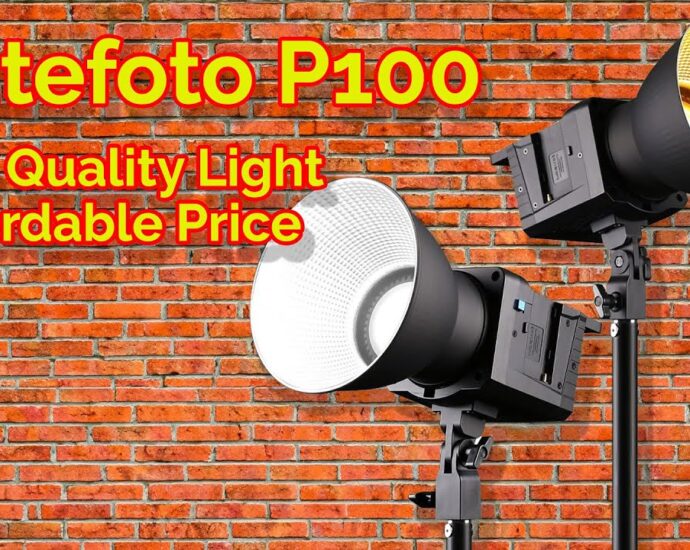
In this video, I take a closer look at the Sutefoto P100 Bi LED Video Light. This powerful and affordable light is a great option for content creators of all levels.
The P100 Bi features a bi-color LED panel with a CRI of 95+ and TLCI of 96+, ensuring accurate and natural-looking color reproduction. It also has a high output of 1000 lumens, making it ideal for both indoor and outdoor use.
In addition to its bi-color capabilities, the P100 Bi also features a built-in RGBWW LED panel, giving you even more creative control over your lighting. You can use the RGBWW panel to create a variety of special effects, such as simulating natural light or adding color accents to your videos.
The P100 Bi is also very versatile. It can be used as a key light, a fill light, or a backlight. It can also be mounted on a light stand, a tripod, or even a camera.
If you’re looking for a powerful and affordable LED video light, the Sutephoto P100 Bi is a great option. Check out my video for more details!
Here are some of the key features of the Sutephoto P100 Bi LED Video Light:
Bi-color LED panel with CRI of 95+ and TLCI of 96+
High output of 1000 lumens
Built-in RGBWW LED panel
Versatile mounting options
Affordable price
Amazon $179
https://amzn.to/44F7MV3Continue ReadingContinue Reading
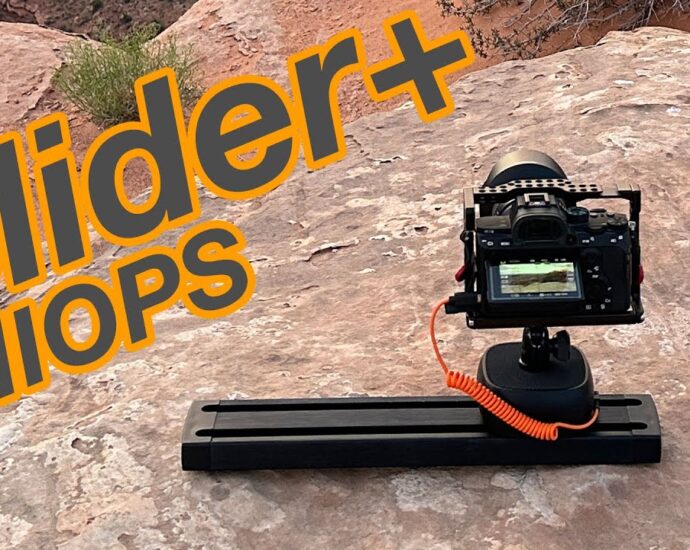
I never thought I would like having a smaller slider until I got the MIOPS Slider+. It may be small, but it is packed with features and smoooooth as butter.
MIOPS Slider+
https://www.miops.com/products/sliderContinue ReadingContinue Reading

The new Vanguard Alta Pro 3VL 303CV20 Tripod can go from ground level to over 6′ tall while still being a pretty compact size when collapsed. With heavy duty legs and a small, yet smooth video head, this tripod is a real winner.
Vanguard
https://www.vanguardworld.com/Continue ReadingContinue Reading
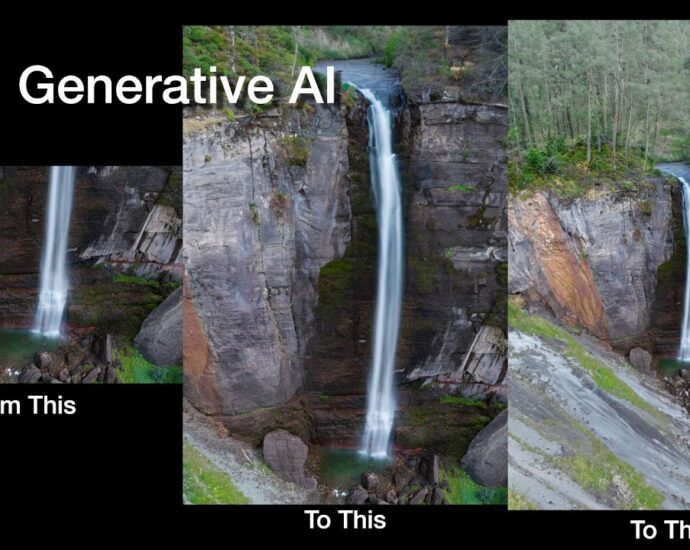
Adobe Photoshop’s new Generative Fill feature lets you add, extend, or remove content from your images non-destructively, using simple text prompts to achieve realistic results that will surprise, delight, and astound you—in seconds.Continue ReadingContinue Reading

DaVinci Resolve 18 Beginner Tutorial
In this video, I’ll give you a quick overview of DaVinci Resolve 18, a free and powerful video editing and color grading software. I’ll cover the basics of how Resolve works, where things are in the interface, and some tips to get you started.
Even if you’re a beginner, you can learn how to use DaVinci Resolve to create professional-looking videos. I’ll show you how to import media, edit clips, add effects, and export your final project.
By the end of this video, you’ll have a good understanding of how DaVinci Resolve works and you’ll be able to start creating your own videos.
Here’s what you’ll learn in this video:
How to import media into DaVinci Resolve
How to edit clips
How to add effects
How to export your final project
Here are some tips for getting started with DaVinci Resolve:
Take some time to explore the interface and learn where everything is.
Watch some tutorials online to learn more about how to use the software.
Don’t be afraid to experiment. The best way to learn is by doing.
I hope this video helps you get started with DaVinci Resolve. If you have any questions, please leave a comment below.Continue ReadingContinue Reading

Speedramping is a powerful technique that can be used to create dynamic and engaging videos. In this video, I will show you how to speedramp in DaVinci Resolve. I will cover the basics of speedramping, as well as some advanced techniques. I will also show you how to use speedramping to create some cool effects.
What is SpeedRamping?
Speedramping is a technique that allows you to change the speed of a video clip over time. This can be used to create a variety of effects, such as slow motion, fast motion, and time lapse.
There are a few advanced speedramping techniques that you can use to create even more dynamic and engaging videos. These techniques include:
Using multiple speed ramps
Using curves to create smooth speed changes
Using Multiple Speed Ramps
You can use multiple speed ramps to create more complex effects. For example, you could use one speed ramp to slow down a video clip and another speed ramp to speed it up. This would create a slow-motion effect followed by a fast-motion effect.
Using Curves to Create Smooth Speed Changes
You can use curves to create smooth speed changes. To do this, click on the “Curves” button in the Retime window. This will open the Curves window. In the Curves window, you can drag the handles on the curves to adjust the speed of the video clip.Continue ReadingContinue Reading
With Davinci Resolve, you can get better results using the Color Space Transform tool than you can with LUTs, plus, it makes it super simple to match the output from multiple cameras.
This is available in both the free and studio versions of Resolve.Continue ReadingContinue Reading
The latest on-camera microphone from Joby offers some cool new features including both 3.5mm output and USB-C digital output…but….how does it perform in the real world? Well, we put it to the test.
Joby Wavo Plus
https://amzn.to/3LuEEI3Continue ReadingContinue Reading

In this video we dive into the new Davinci Resolve 18.5 (beta) Relight FX tool. This can add very realistic lighting to a scene.
Download 18.5 beta now at http://blackmagicdesign.comContinue ReadingContinue Reading